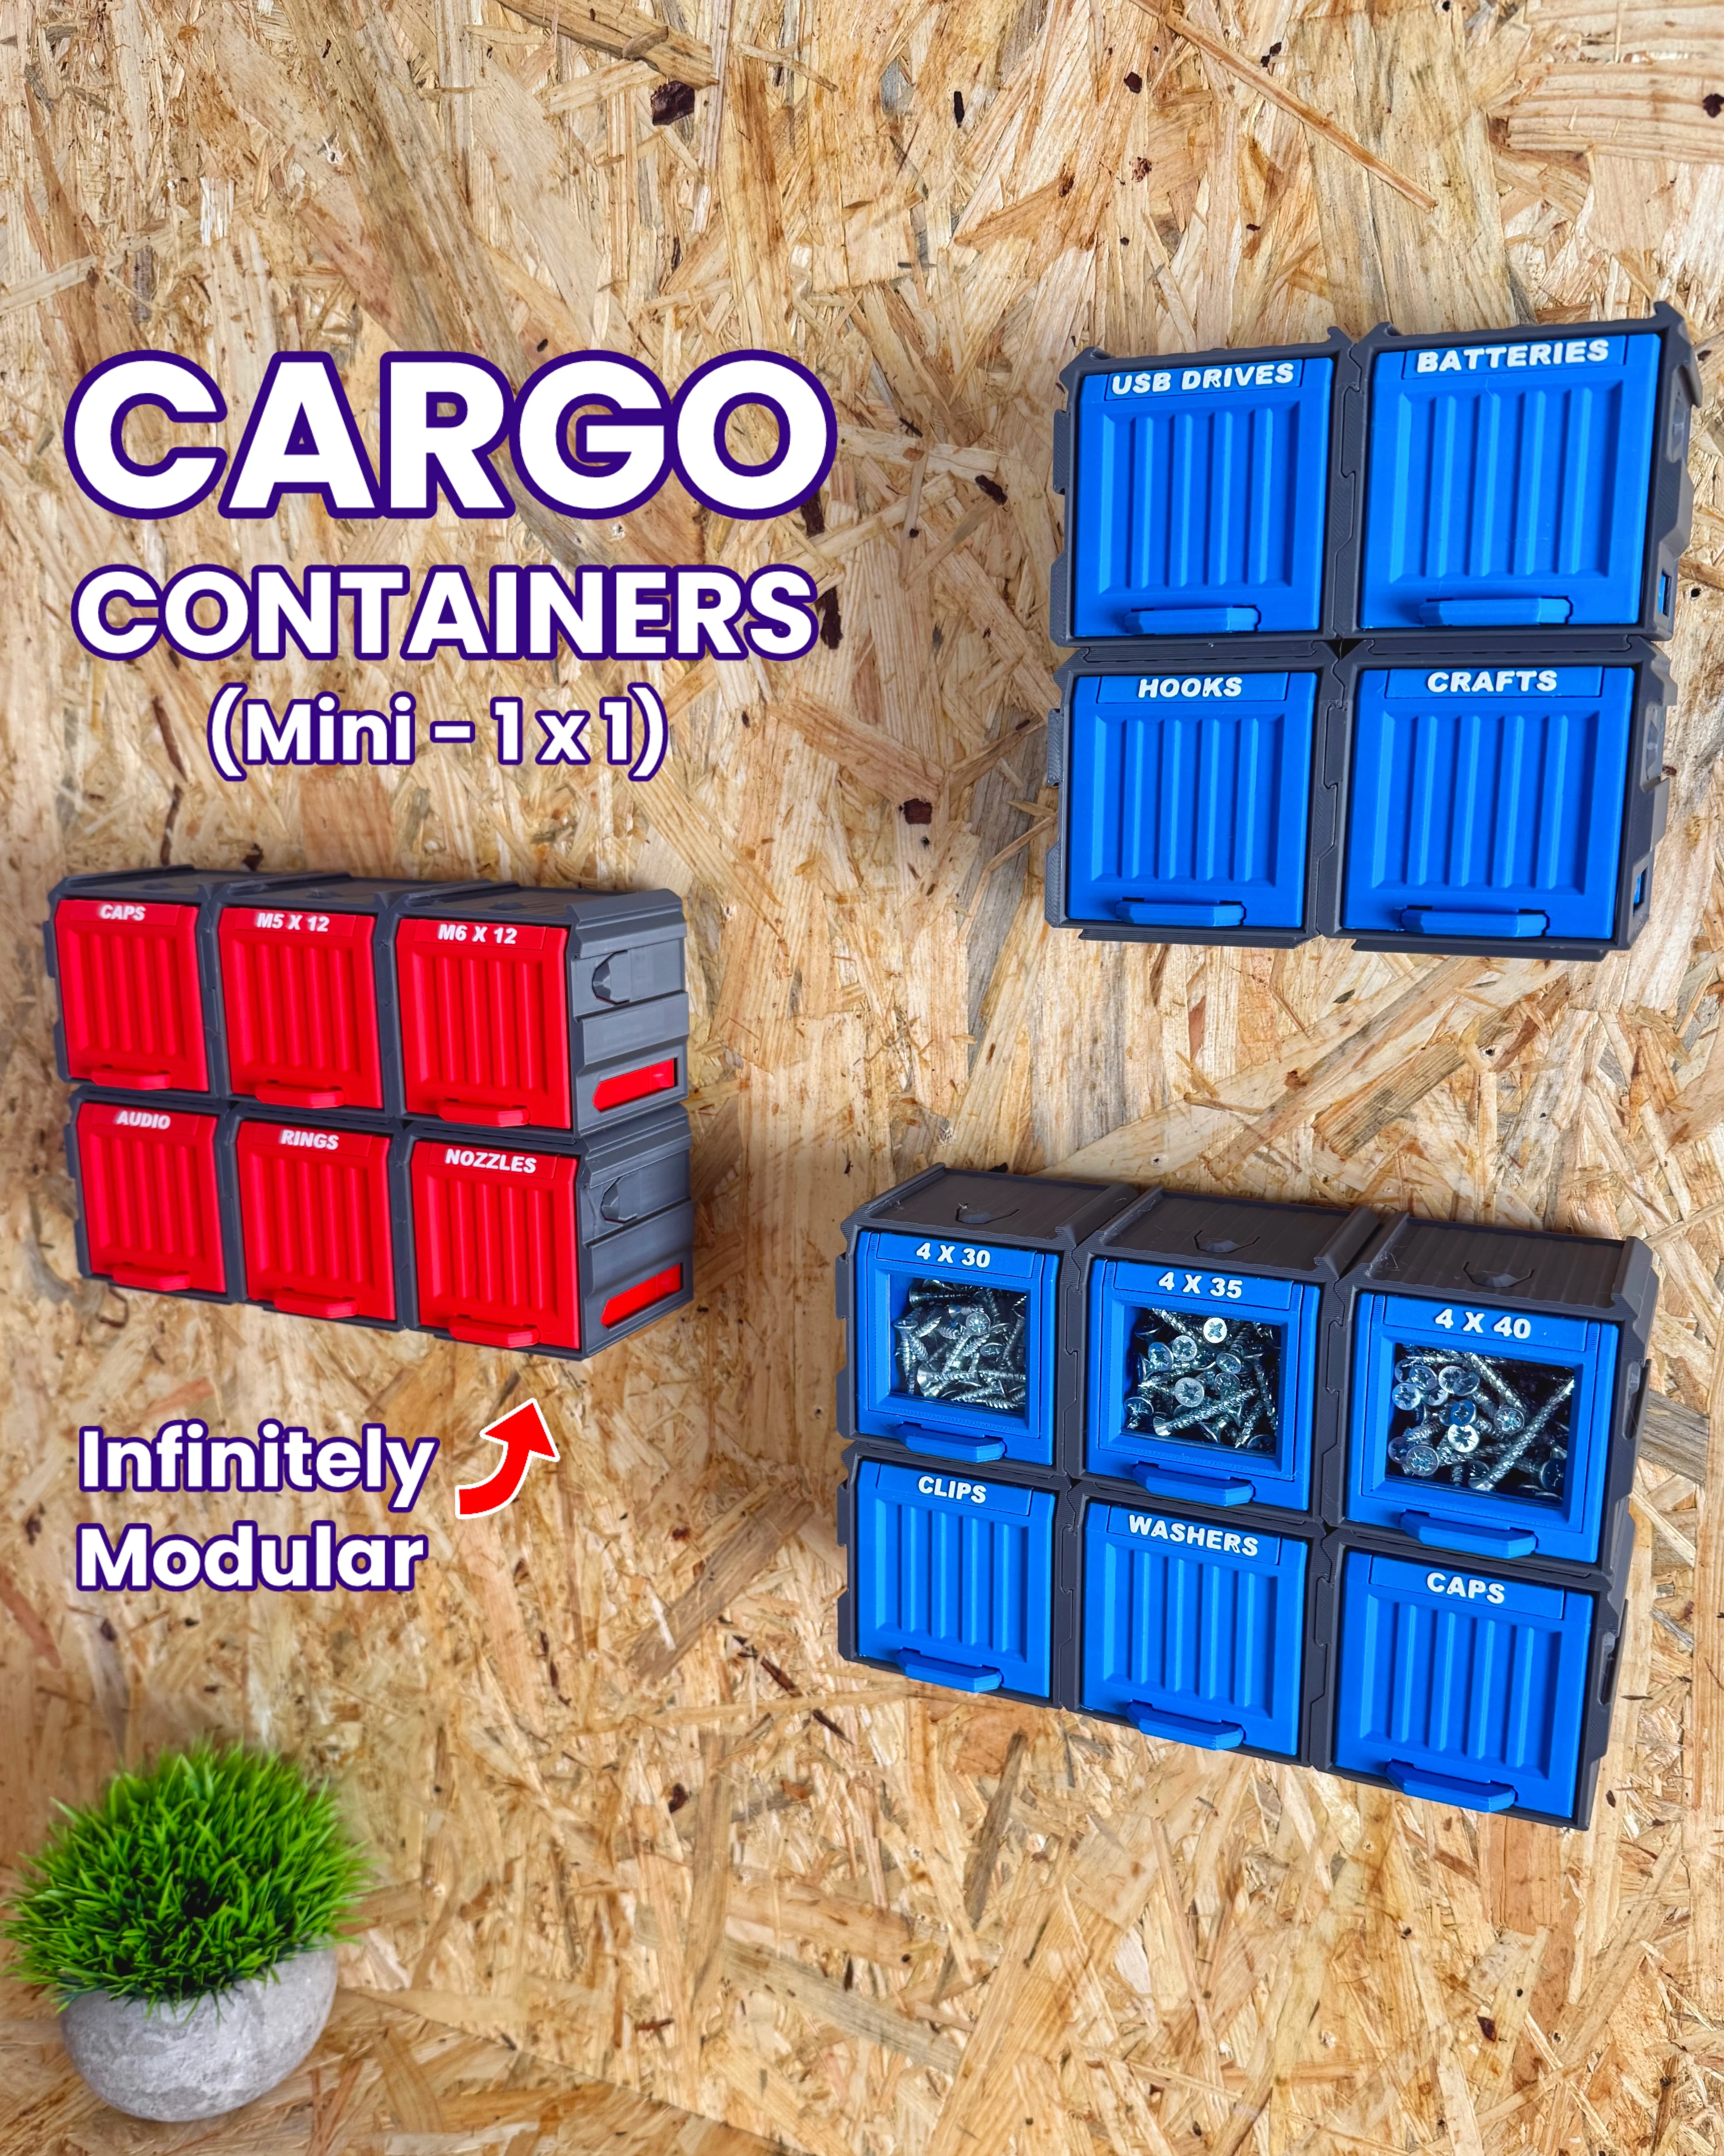

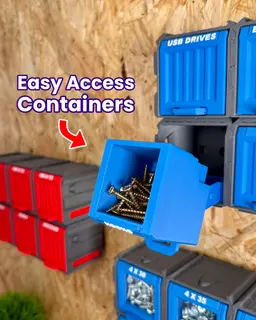


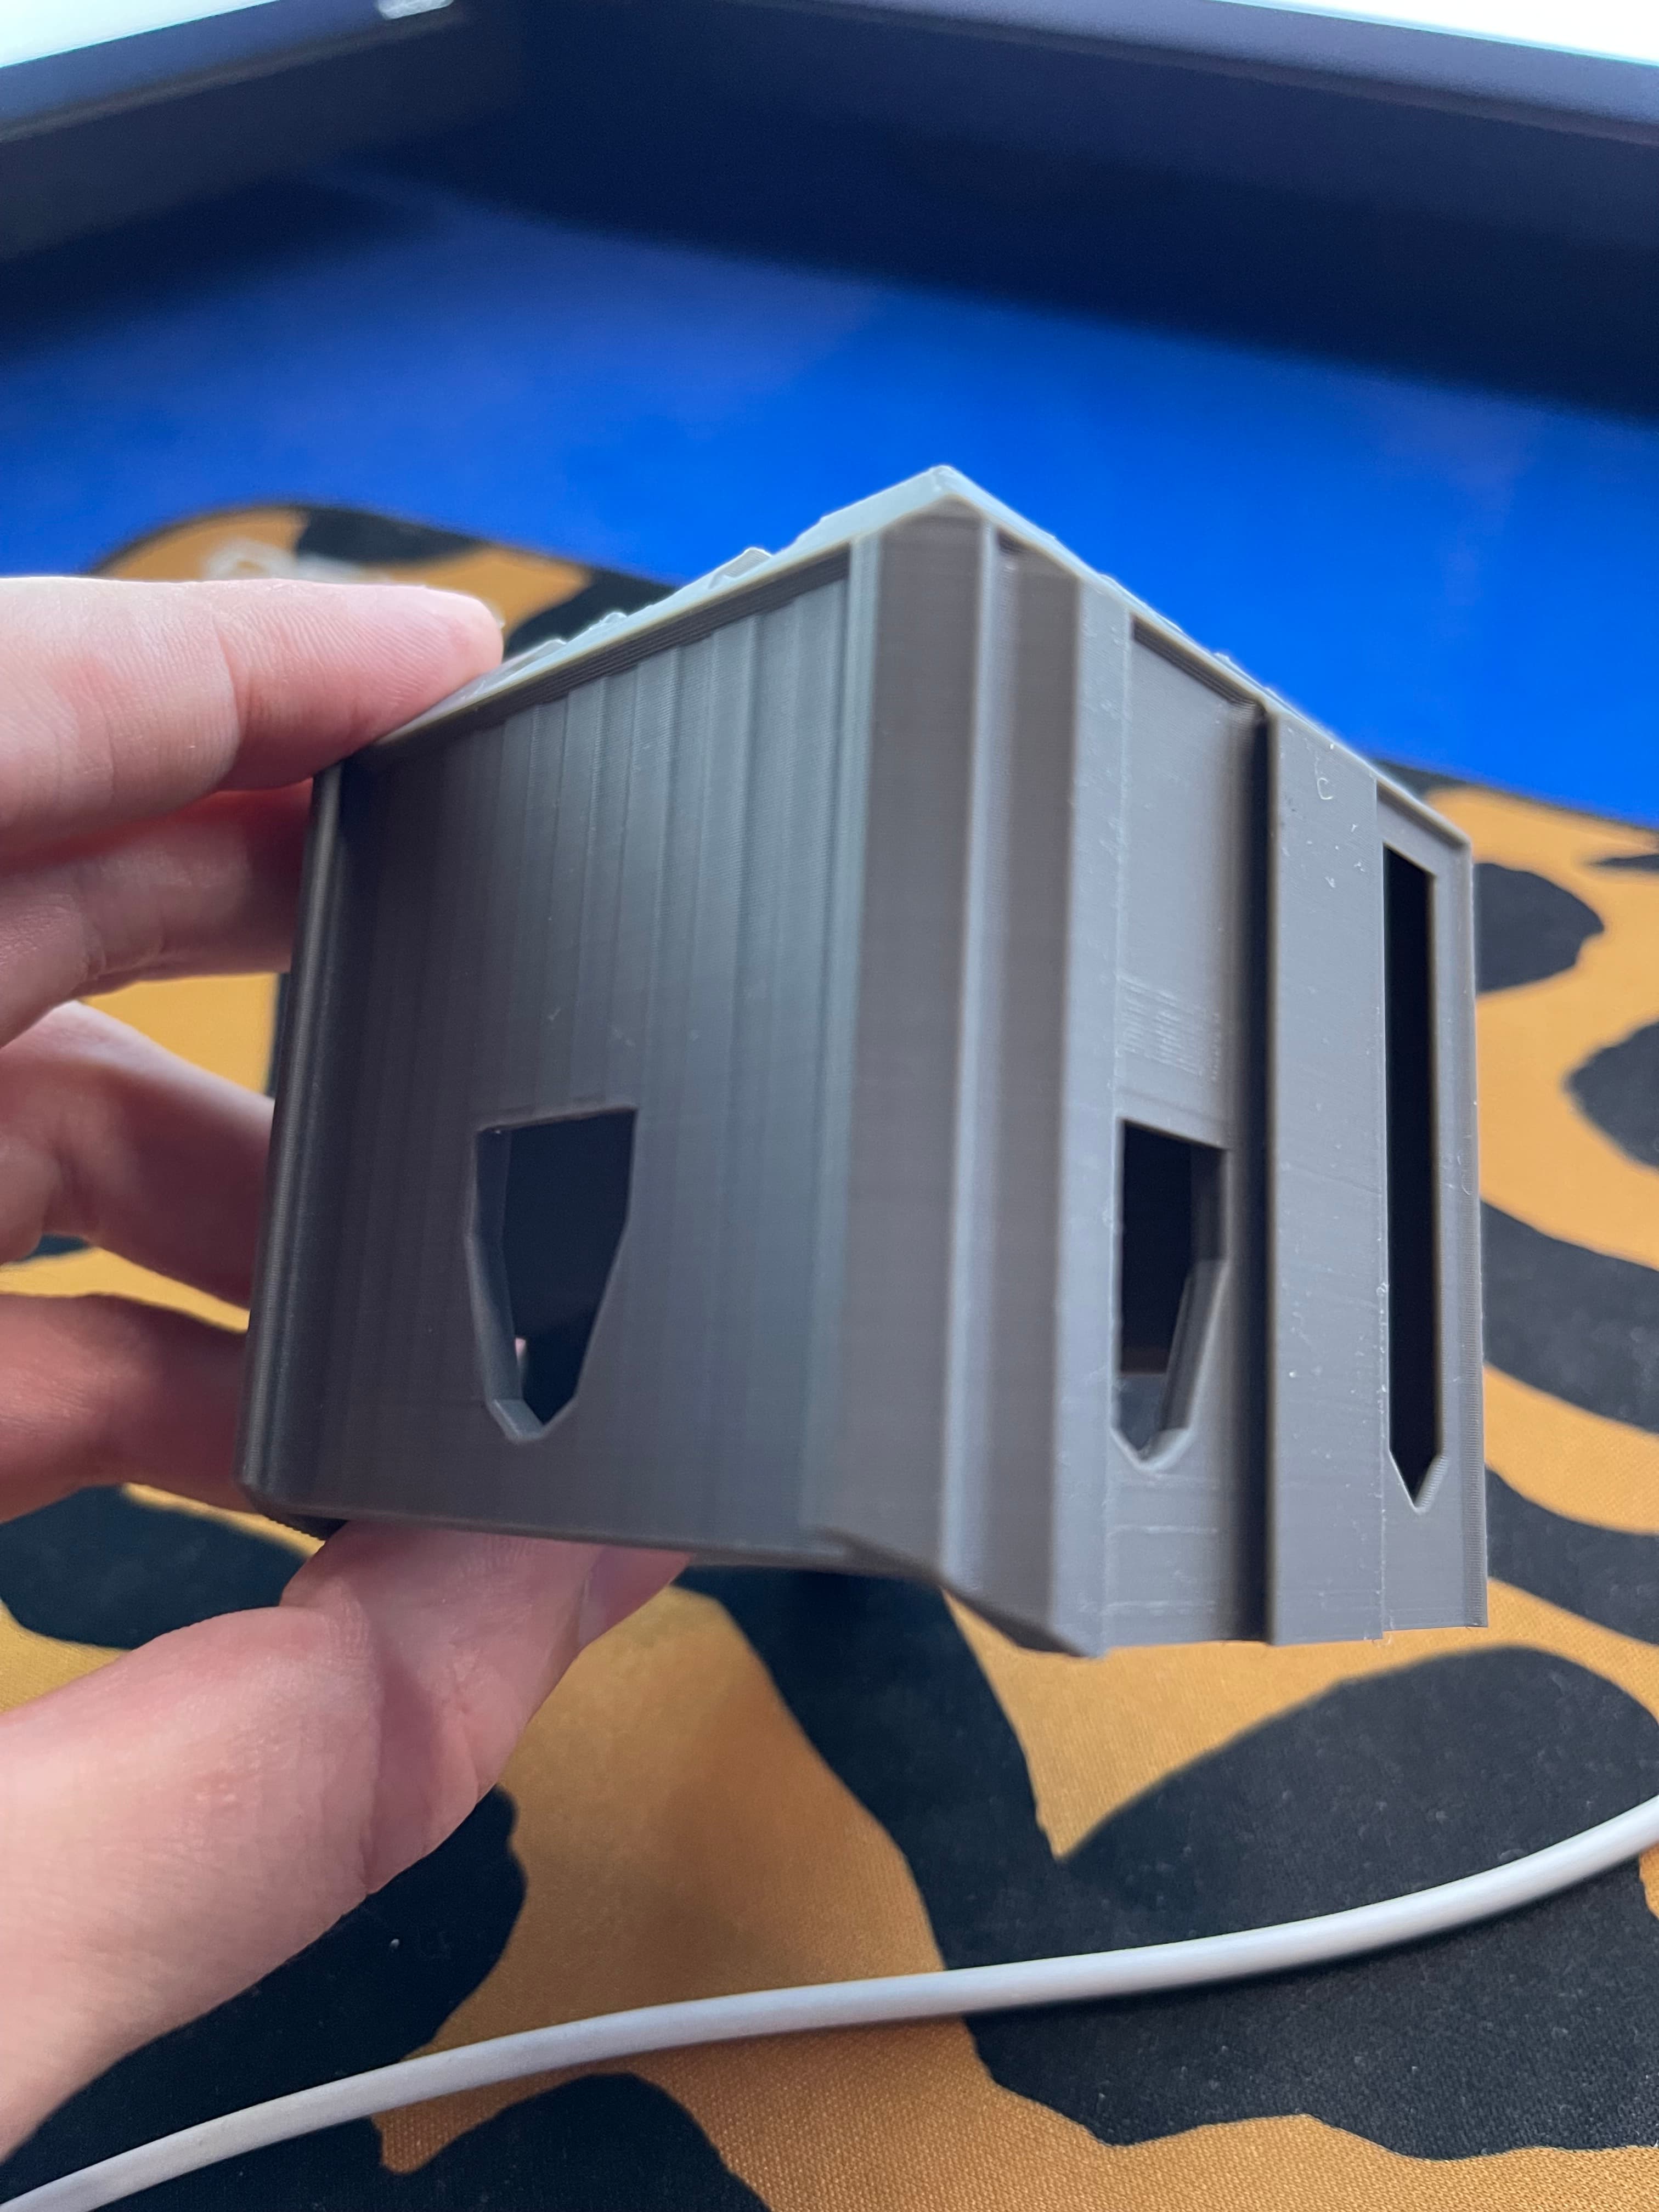
Cargo Containers - 1x1 (Mini Modular Storage)
You’ll never need more storage again with the Cargo Containers - the infinitely modular storage containers that can handle even the most unorganised spaces.
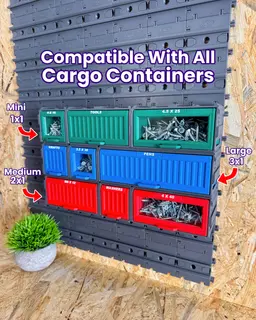
The Cargo Containers - 1x1 is part of our ever evolving Cargo system and are fully compatible with all size Cargo Containers and the Cargo Connect: Rails.
Main Features
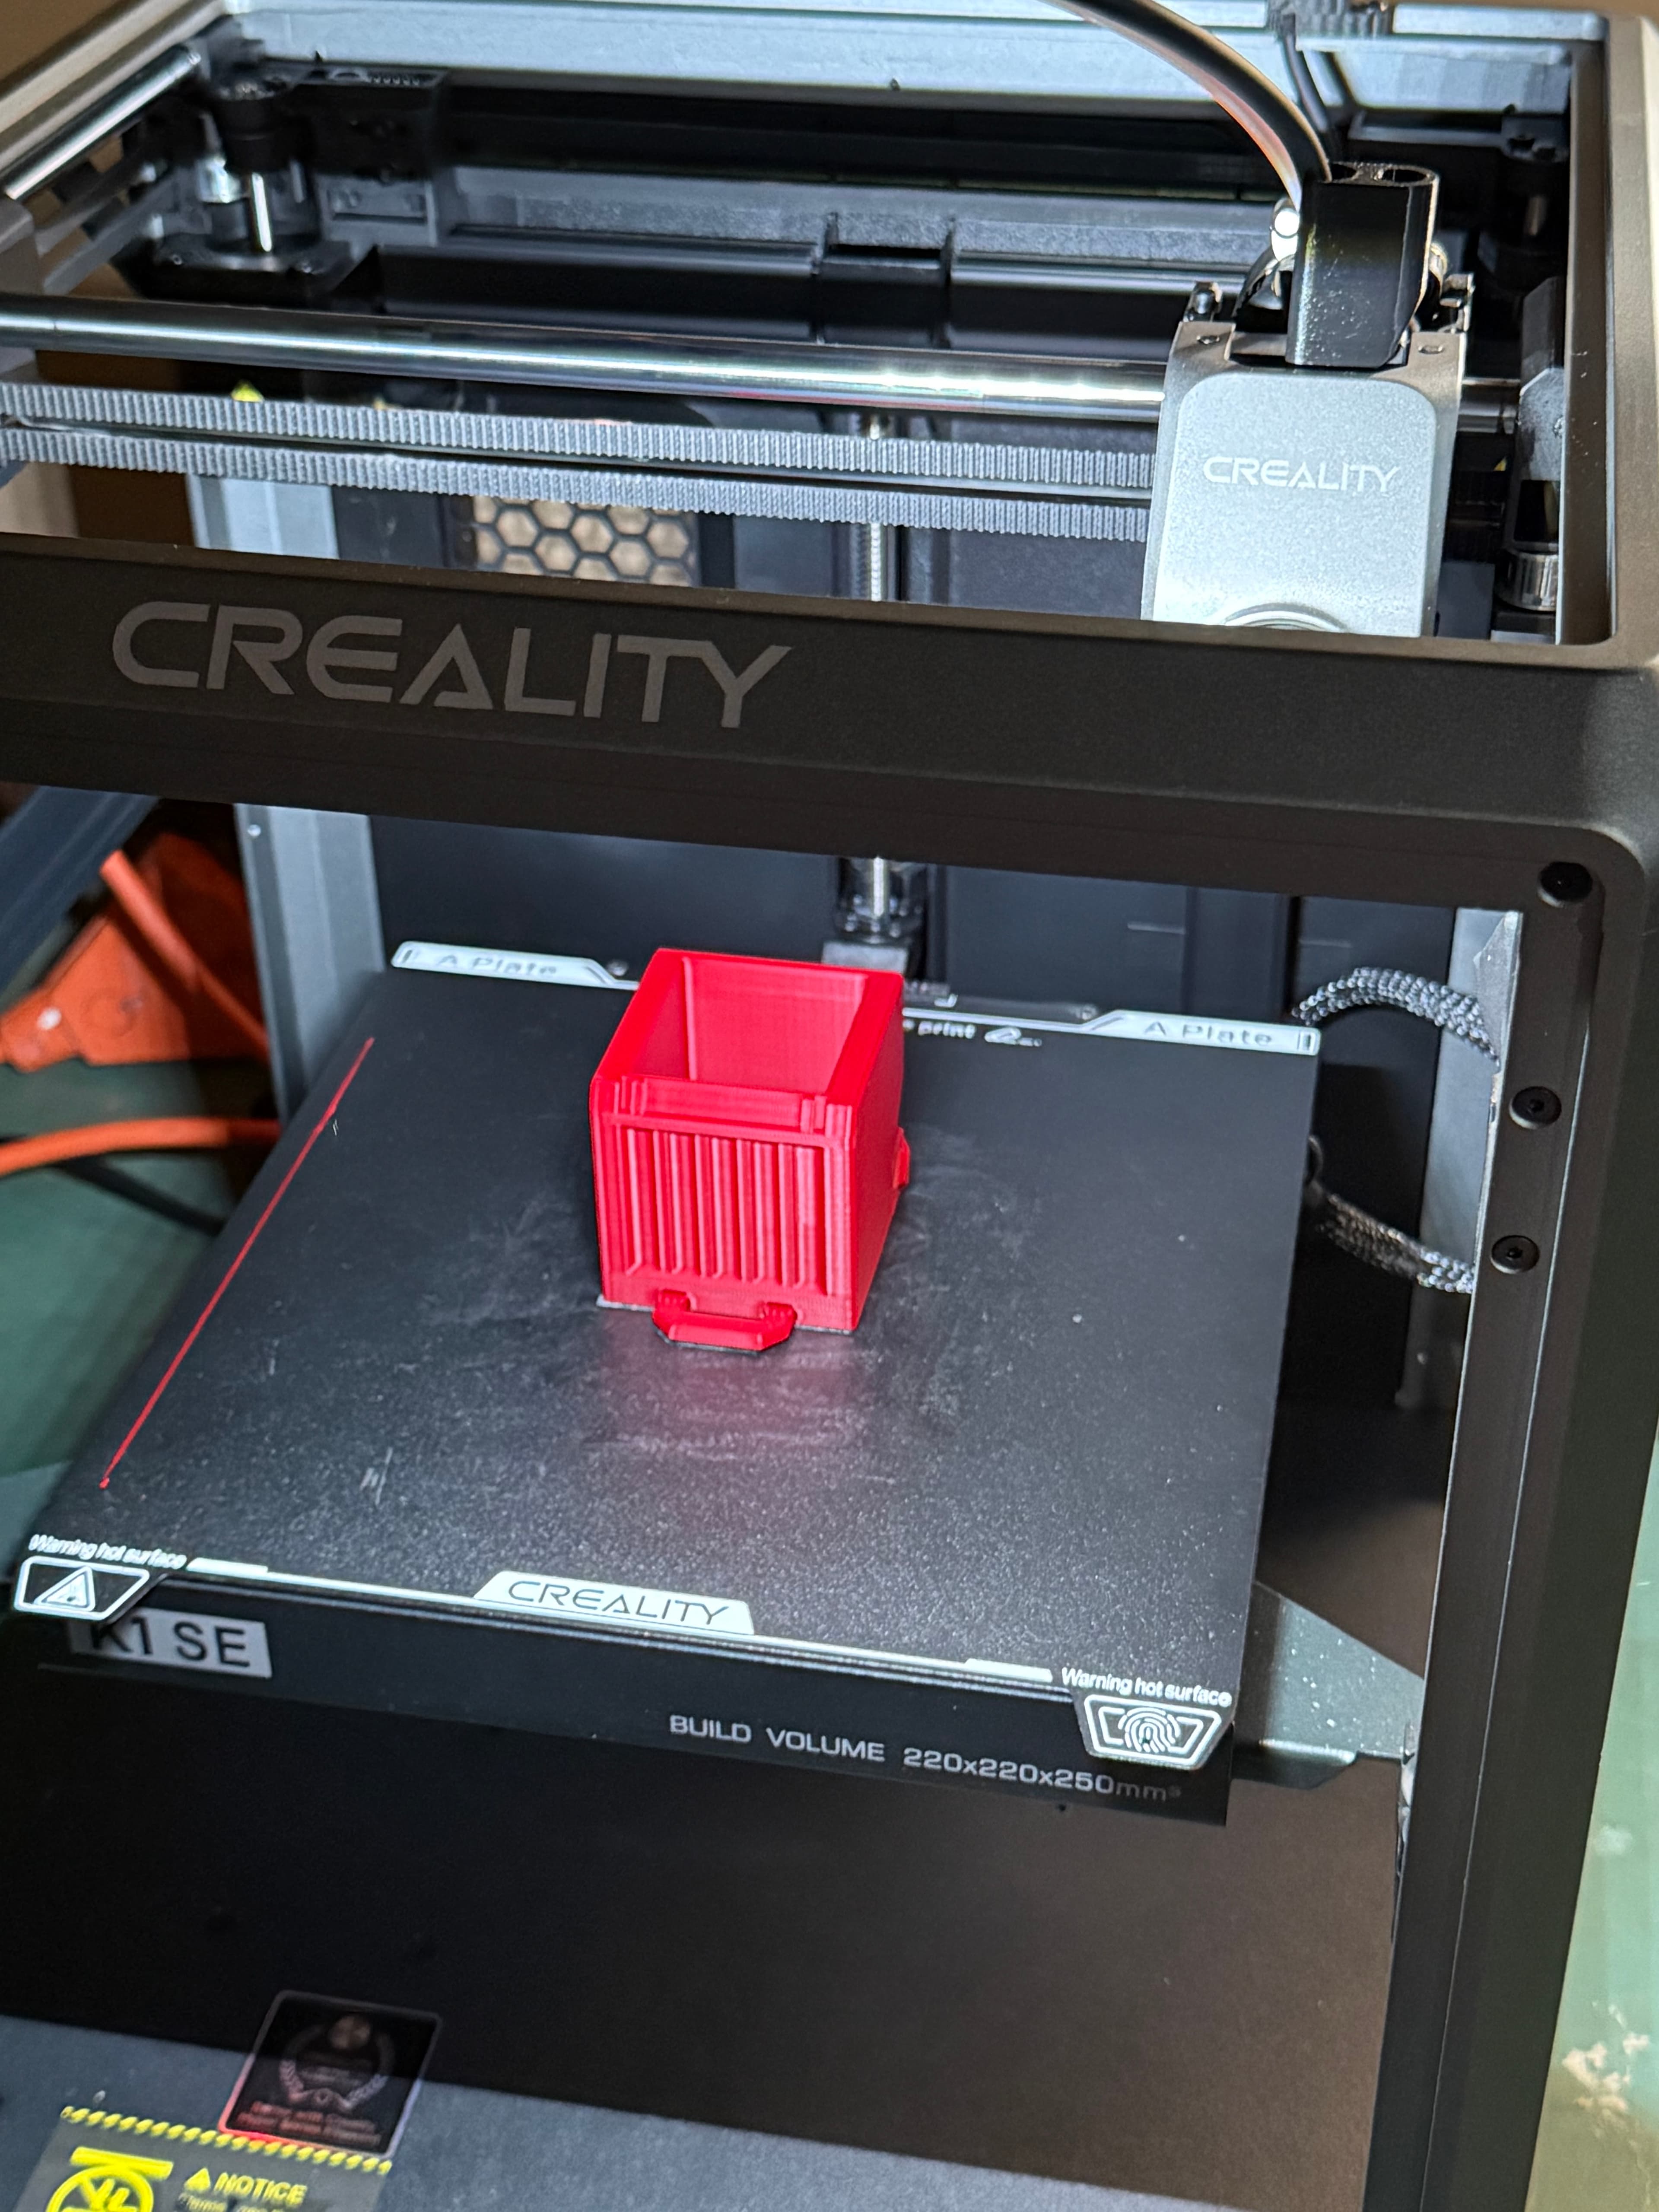
- Easy, support-free printing
- Fully 3D printable - no extra parts needed
- Easy use - no tools required
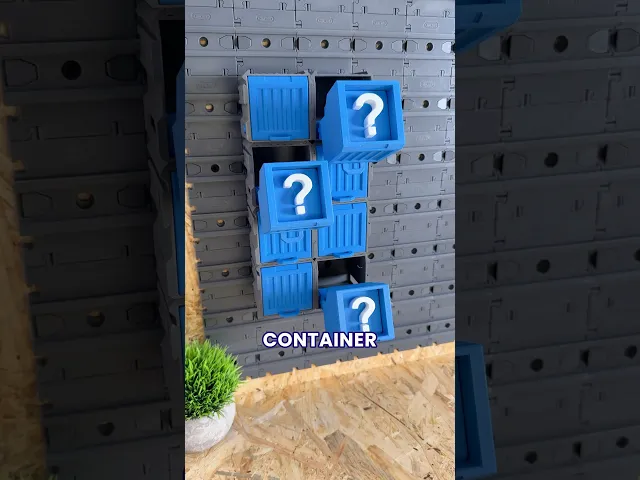
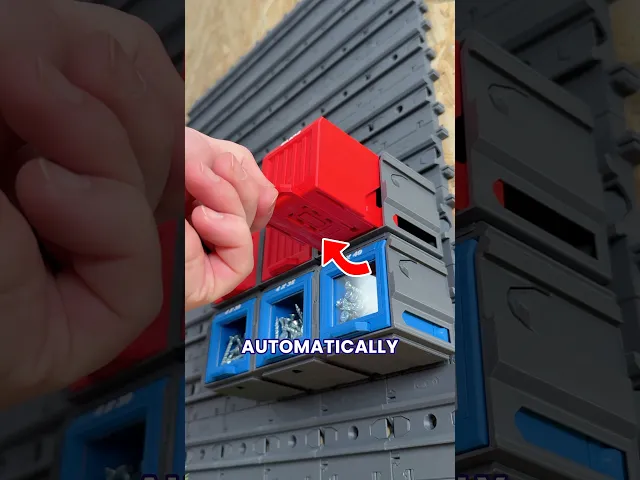
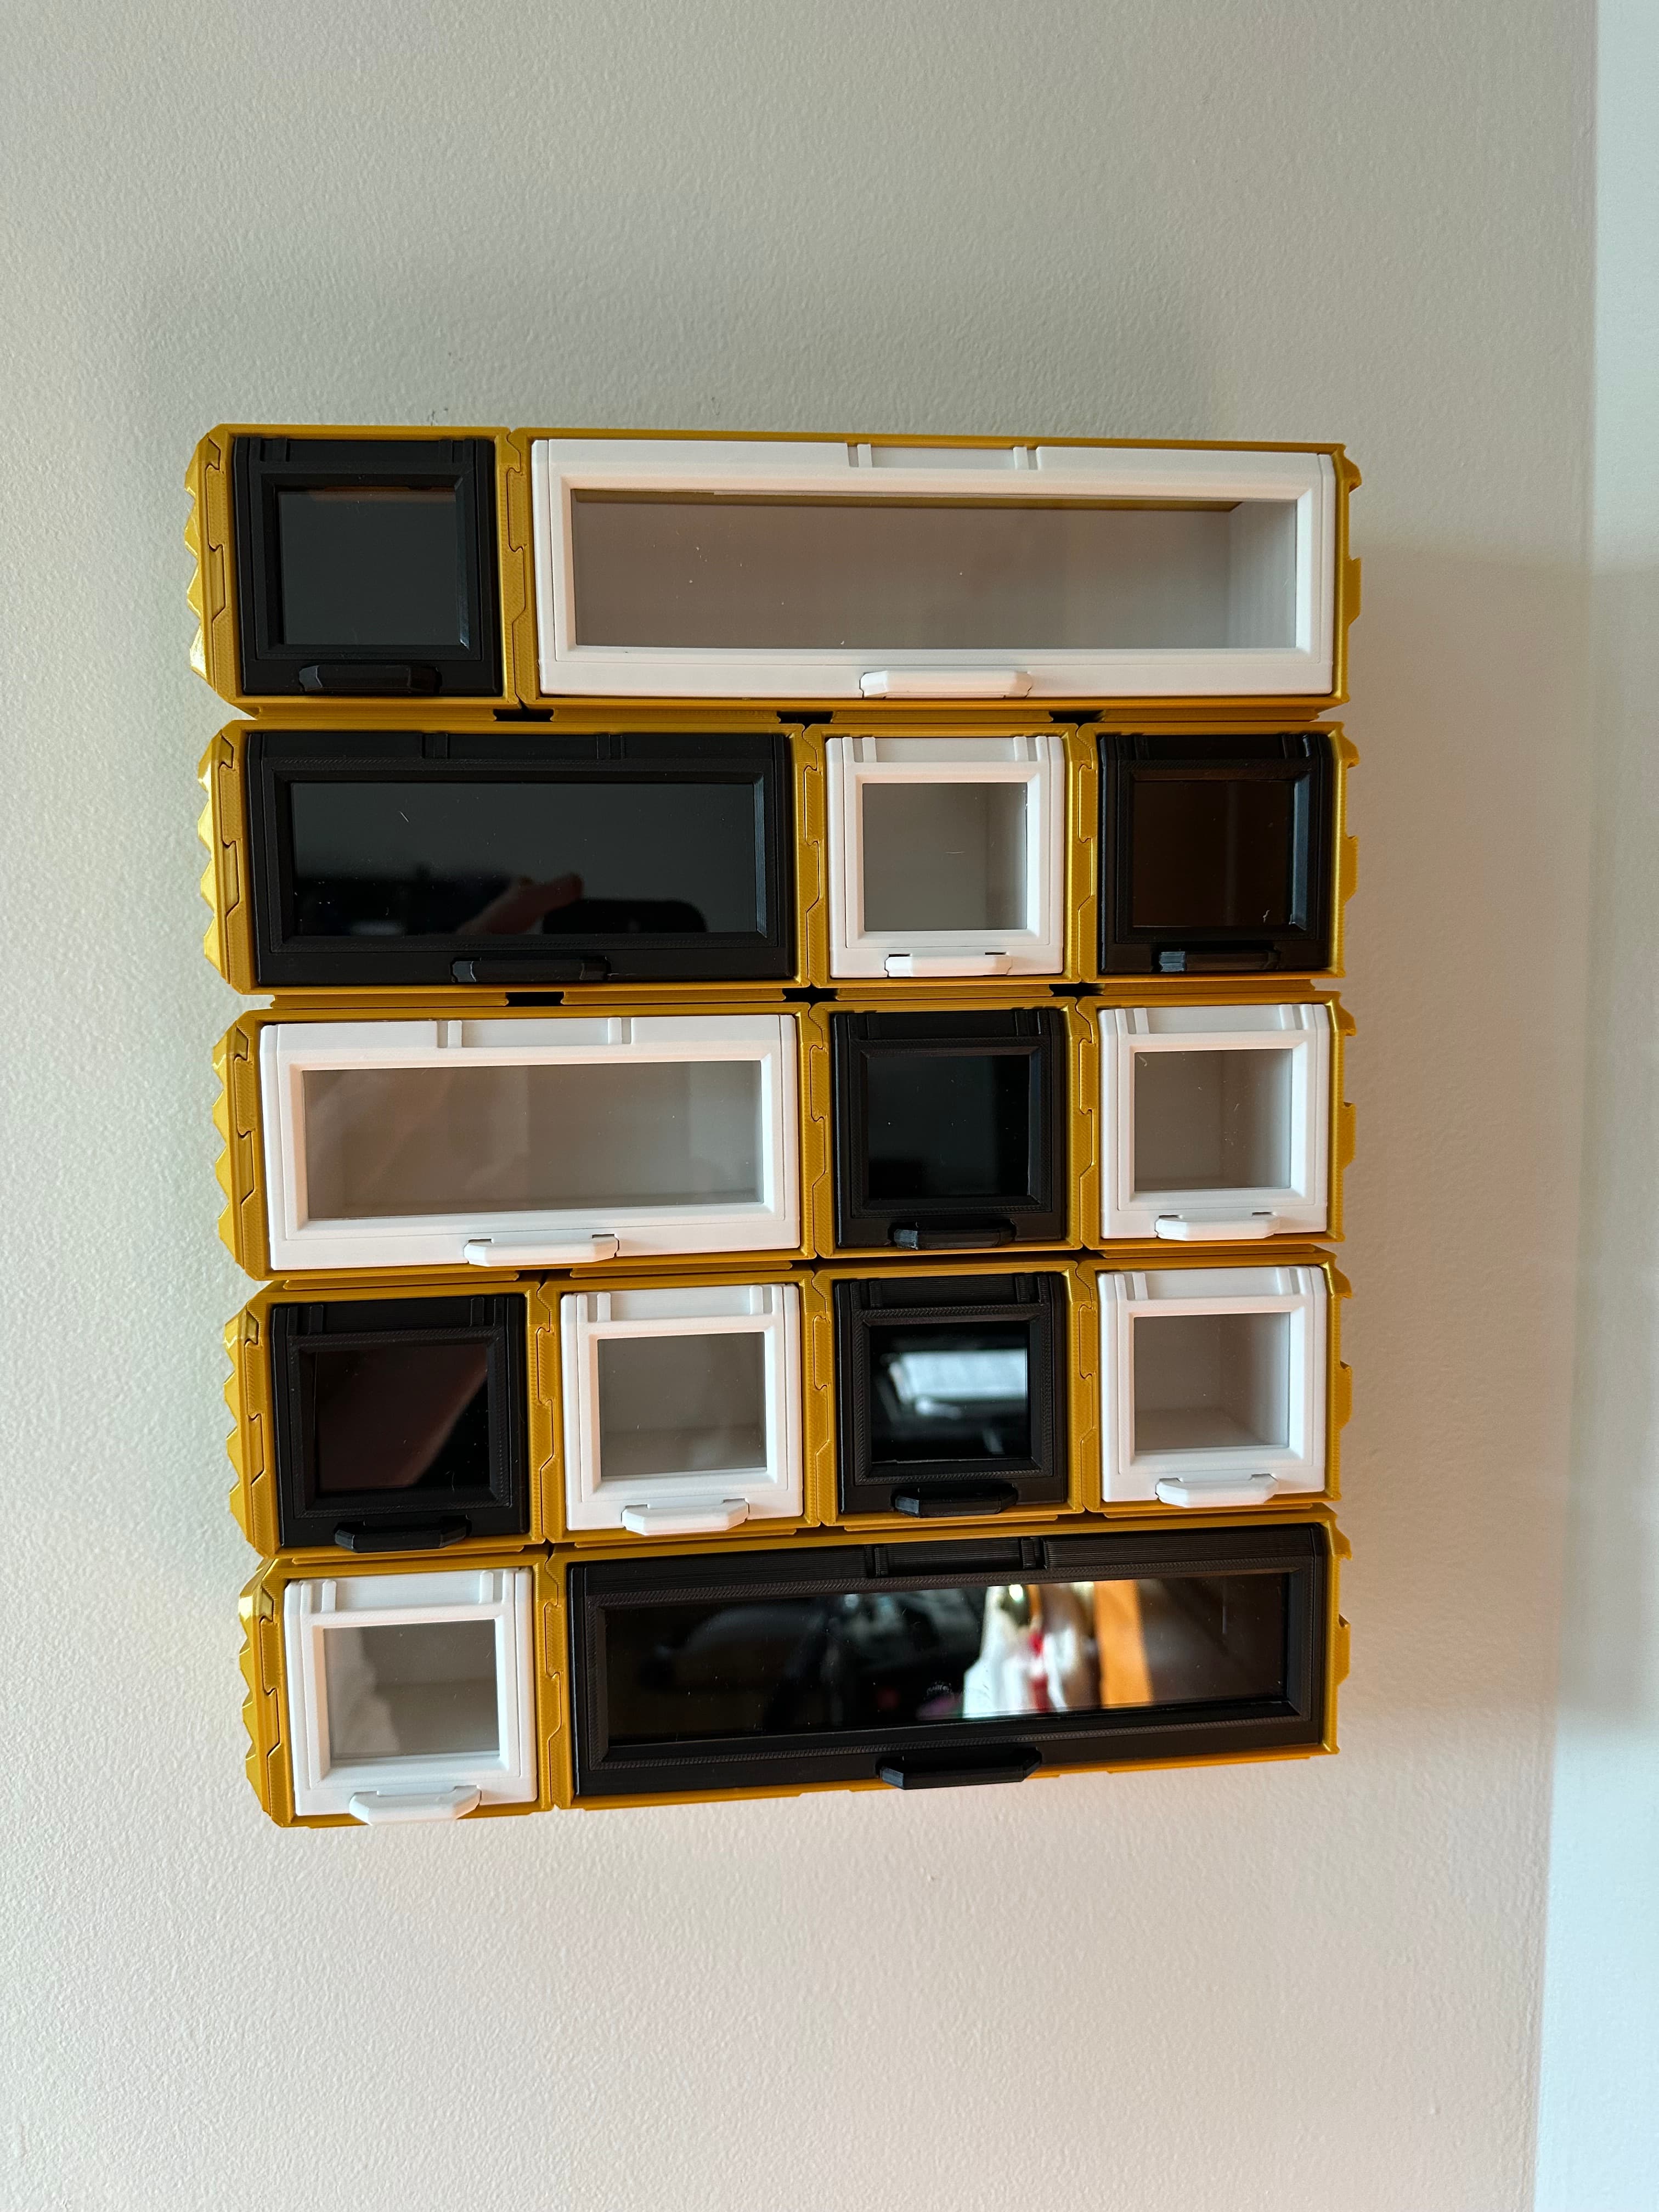
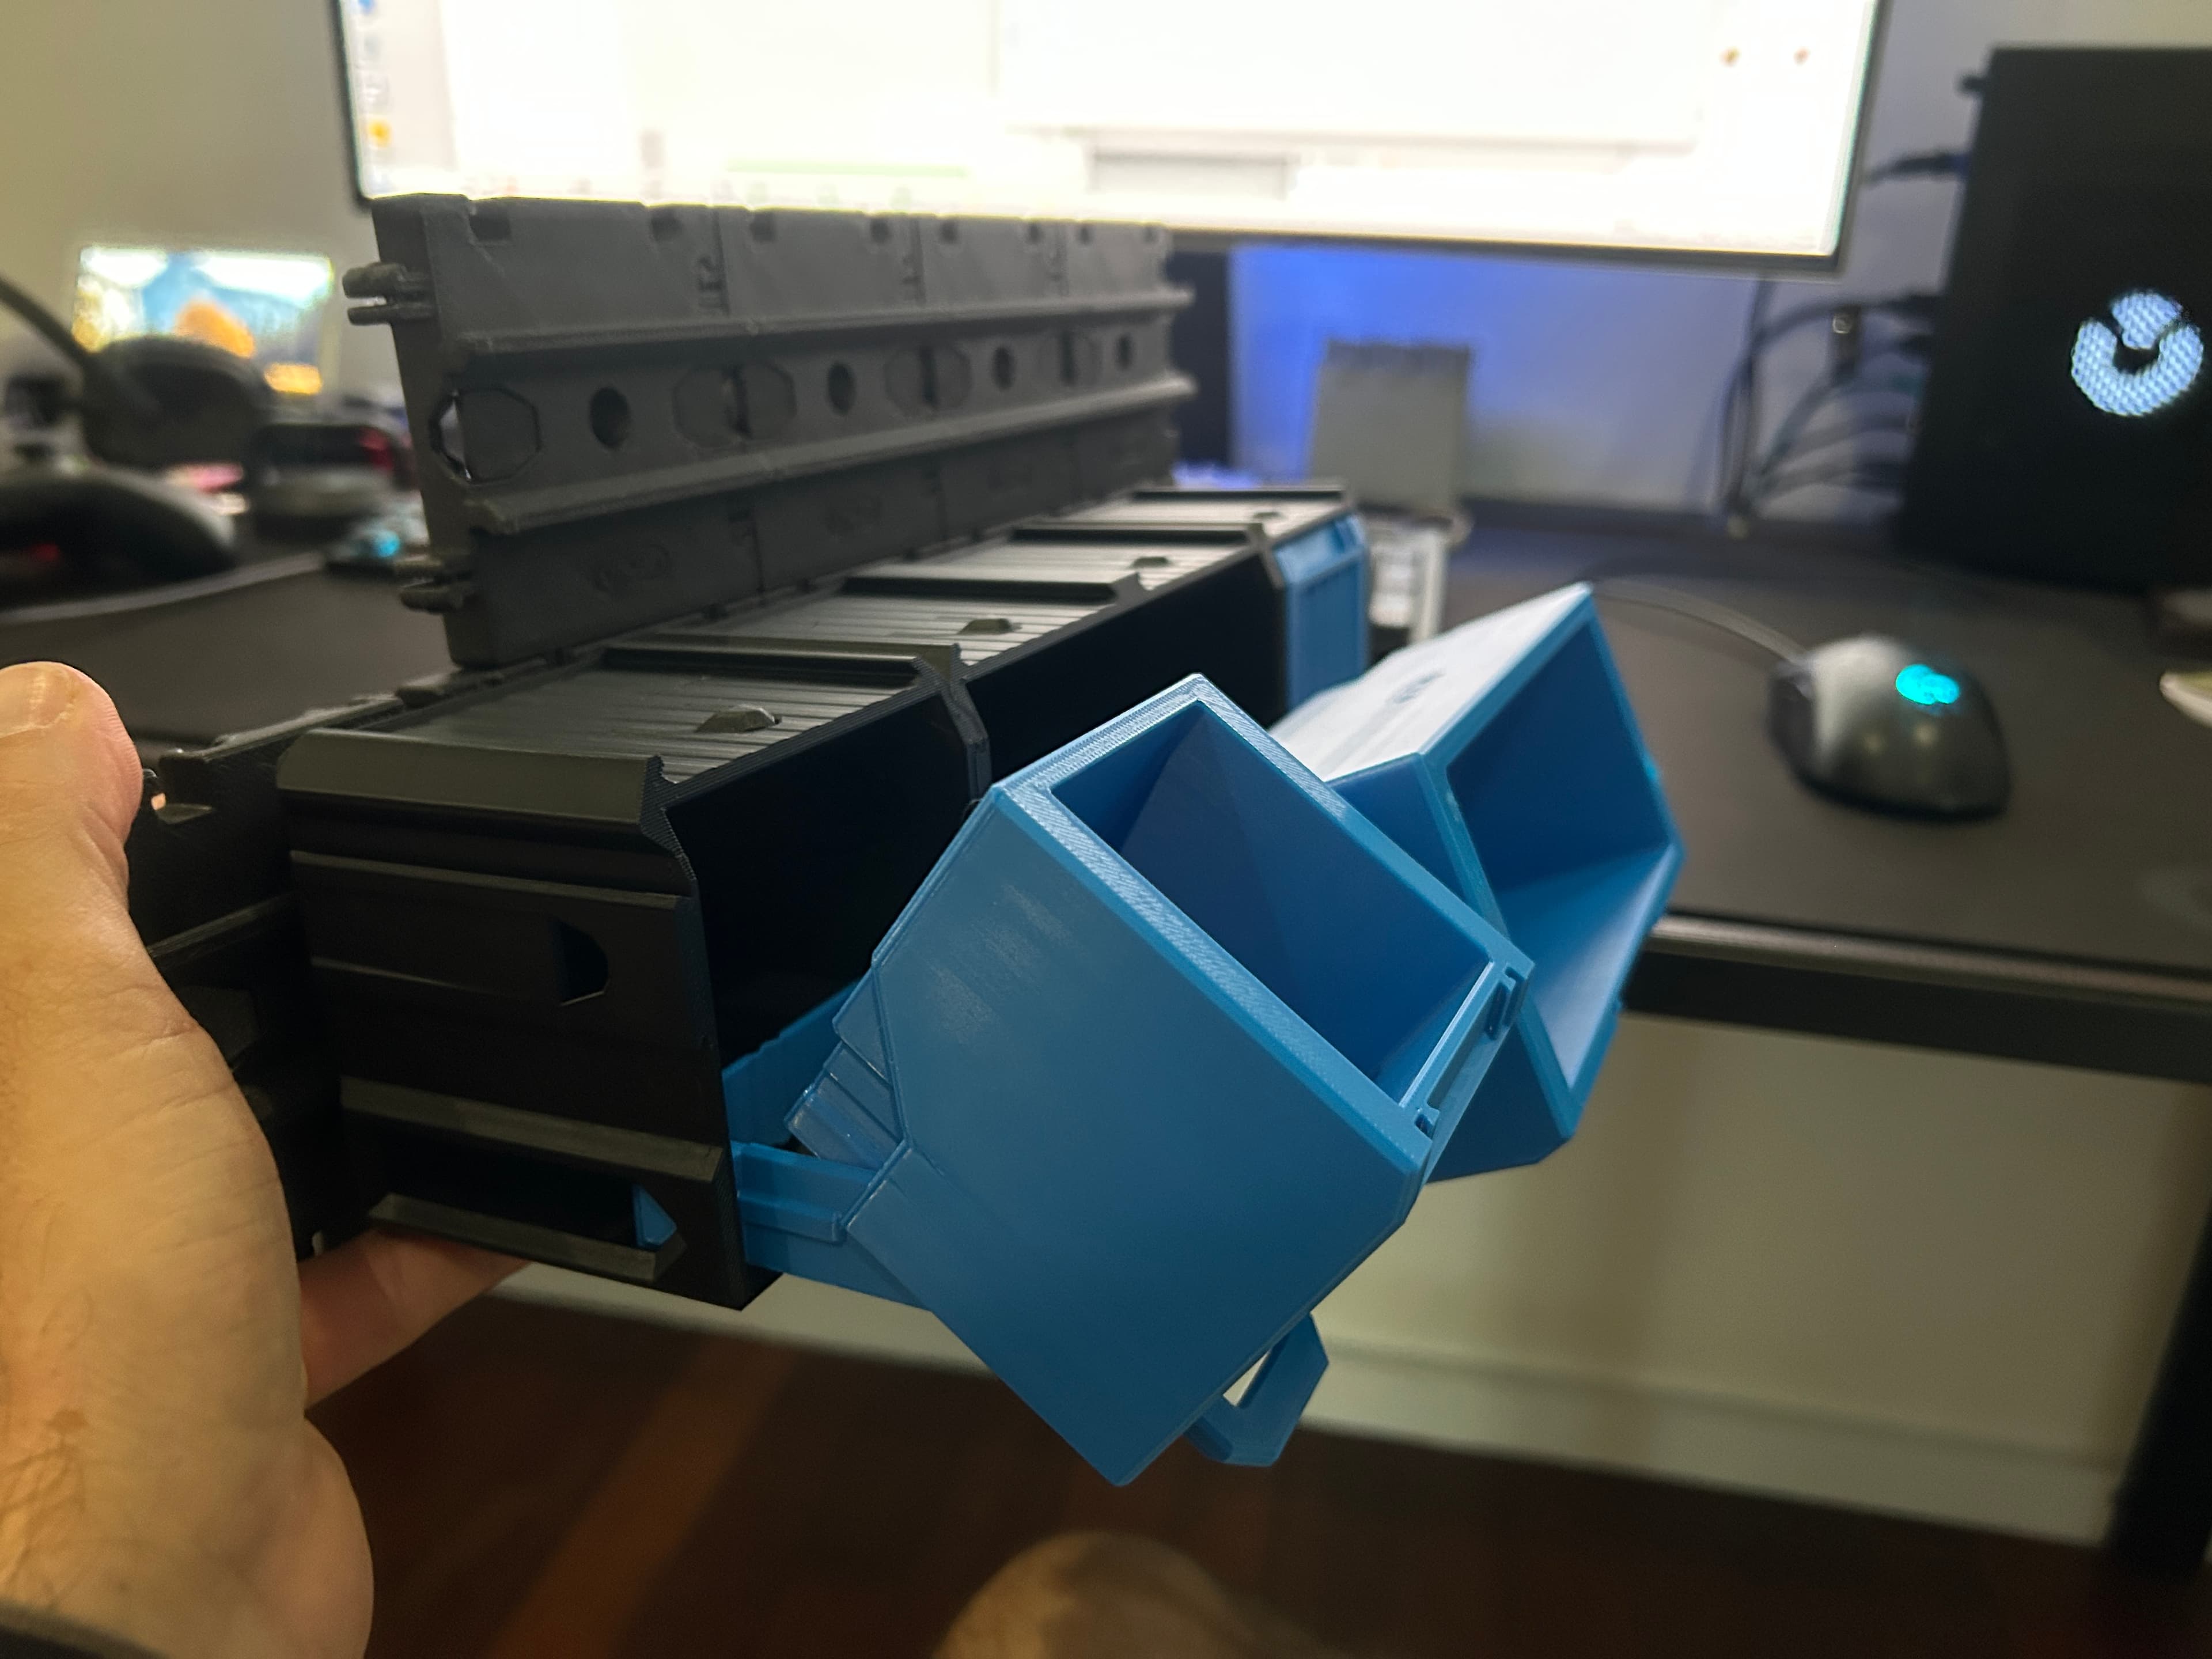
- Infinitely modular - link together any combination of Cargo Containers
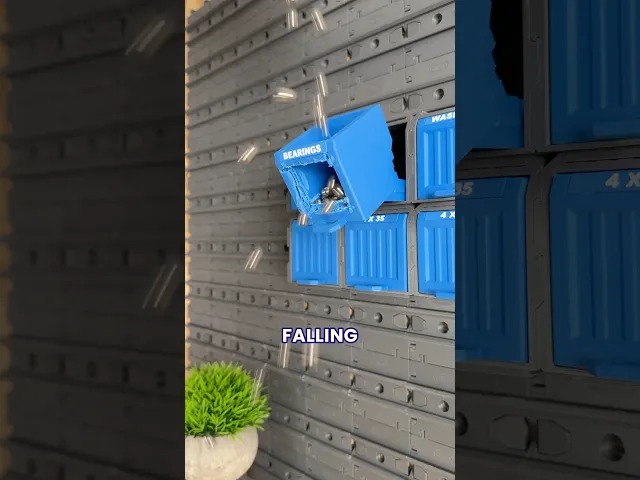
- Easy access tilting function
- Optional ‘Custom Labels’ for even more organisation
- Works perfectly with the Cargo Connect: Rails for sliding storage
- Available in multiple sizes to suit your setup
- Fully compatible with the Cargo Modular System
What is the Cargo System? Imagine a fully 3D printable system that can organise every aspect of your life, from your kitchen or workshop, to your gaming setup or craft studio.. that is our goal for the Cargo System.
We are documenting the development on our social media channels and we'd love for you to join us as the Cargo system grows and evolves. If you have any upgrades you’d love to see, be sure to leave a comment!
The Cargo Containers have been upgraded to improve overall usability and functionality. Any previous versions can be found in the 'Archive', which is included within the downloadable files, along with a User Guide that provides more details on earlier versions and compatibility.
What we use:
3D printer - Bambu Lab P1S - Get one here*
Filament - Bambu Lab PLA Matte Scarlet Red, Marine Blue and PLA Basic Dark Grey - Get some here*
What's Included:
When you have downloaded the model, you will find the below inside:
1. Ready to Print (.3mf file) - All the parts in one place and ready to print on Bambu Lab printers. 2. User Guide (.pdf file) - A complete ‘User Guide’ to help you print and assemble the model. 3. Individual parts (.stl files) - All the 3D printable parts you need to make the complete base model, compatible with most slicers. 4. Optional Parts (.zip folder) - A selection of optional parts that can be used with the base model. 5. Previous Versions - Archive (.zip folder) - Contains previous versions of the current model.
Happy Printing
Play Conveyor
*Some links in this description are affiliate links, which means we may earn commission if you purchase through them.


Cargo Containers - 1x1 (Mini Modular Storage)

Shelf 2x2x2 - Cargo Attachment

Rails 1x1 - Cargo Connect

Cargo Containers - 2x1 (Medium Modular Storage)
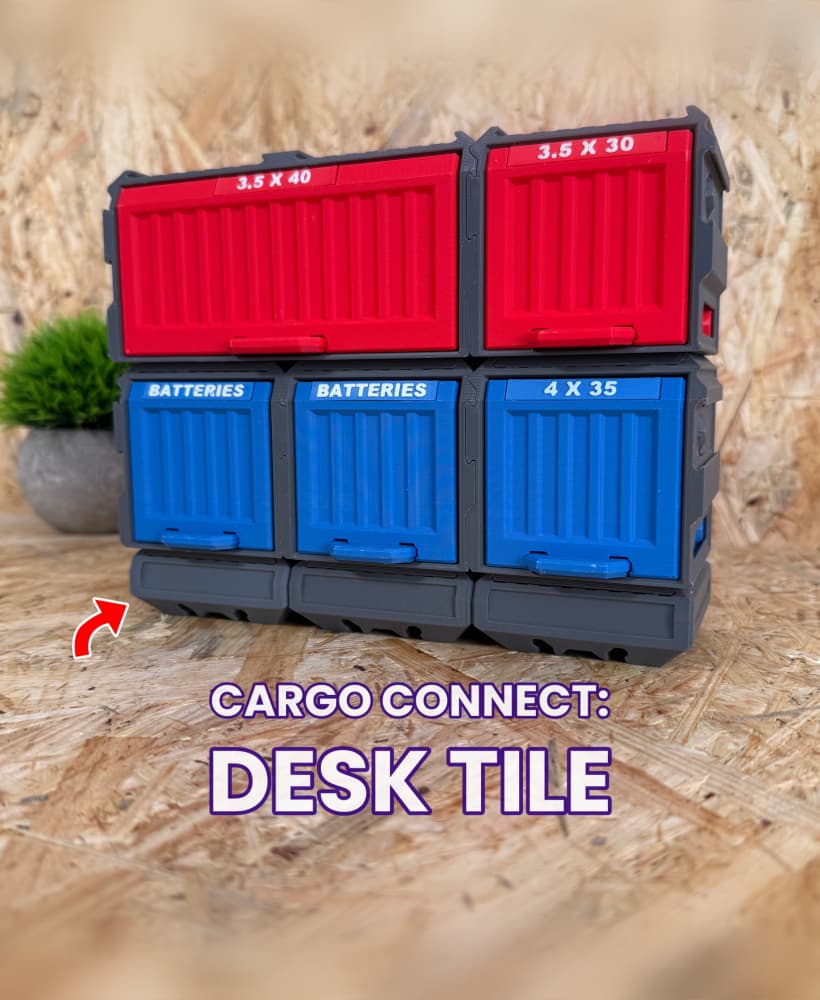
Cargo Connect - Desk Tile

Cable Organiser USBC 2x2 - Cargo Attachment
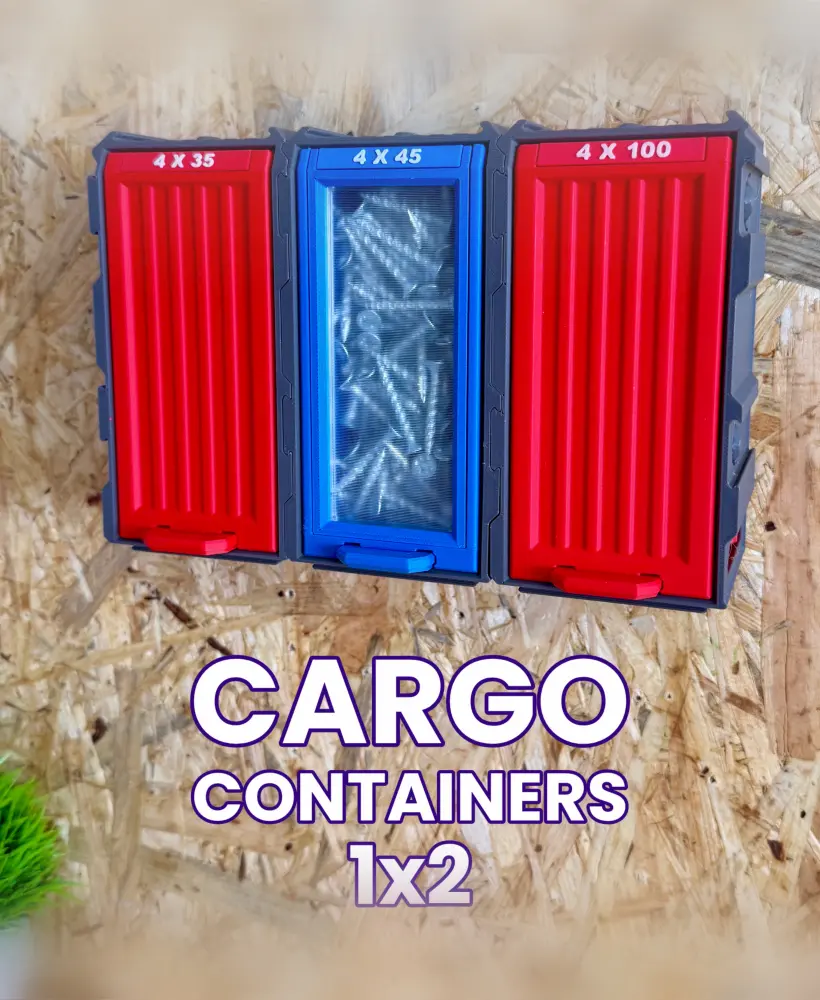
Cargo Containers - 1x2 (Medium Modular Storage)

Shelf 3x3x3 - Cargo Attachment

Frames - Cargo Connect
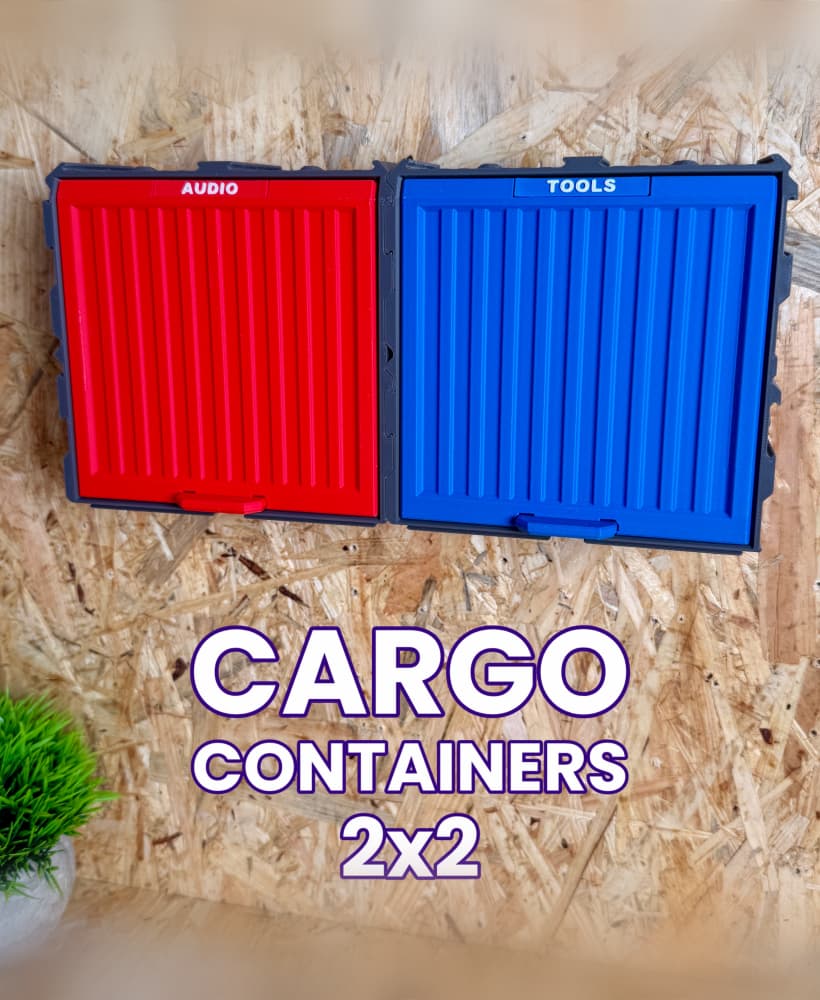
Cargo Containers - 2x2 (Medium Modular Storage)

Cargo Connect: Hooks 1x1

Cargo Containers - 3x1 (Large Modular Storage)

Gripper 1x1 - Cargo Attachment
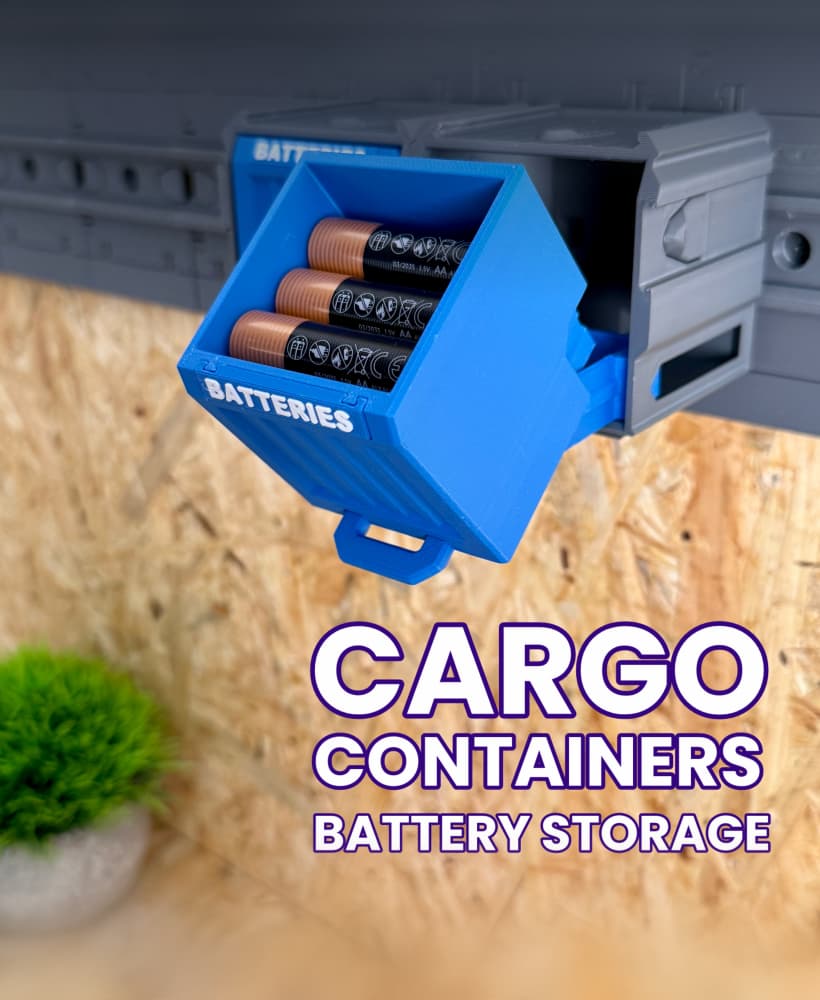
Cargo Containers: Battery Storage

Cable Organiser USBC 1x1 - Cargo Attachment
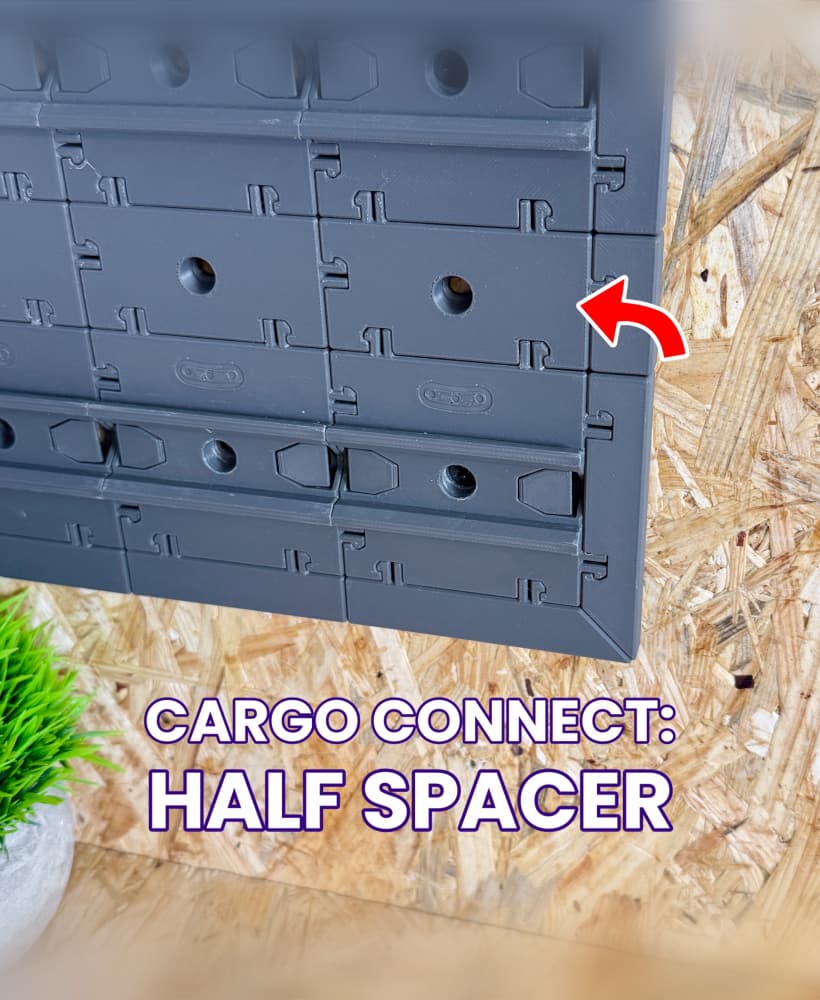
Half Spacer - Cargo Connect

Shelf 1x1x1 - Cargo Attachment
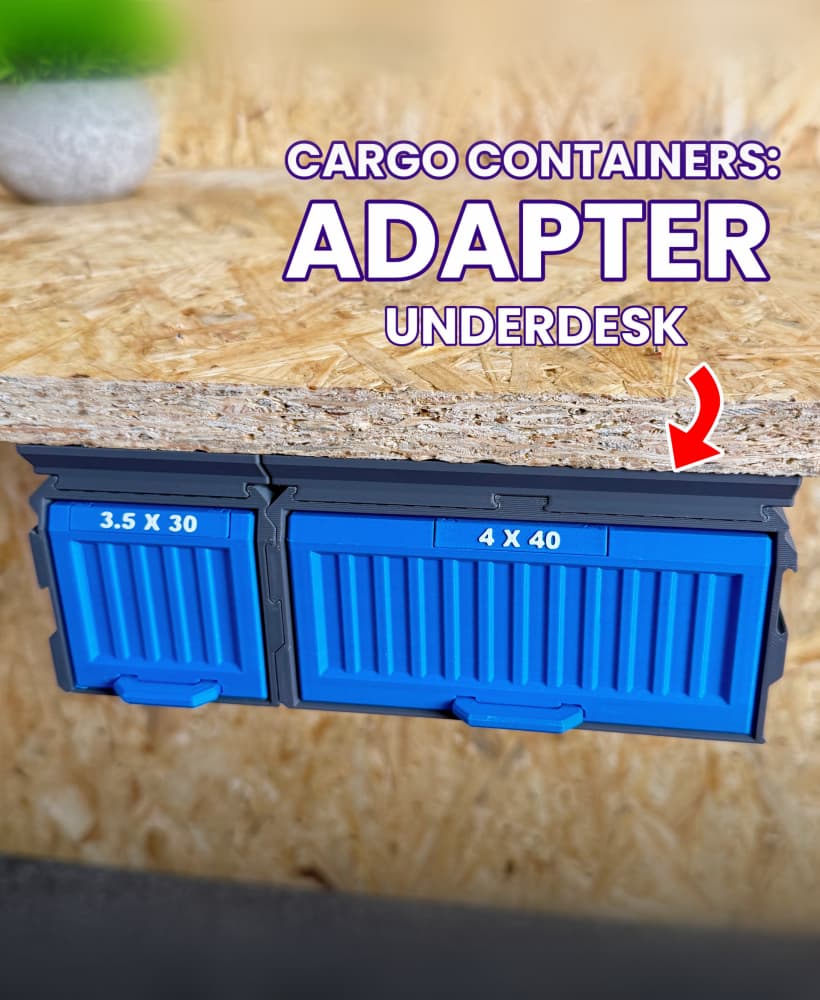
Cargo Containers: Adapter - Underdesk
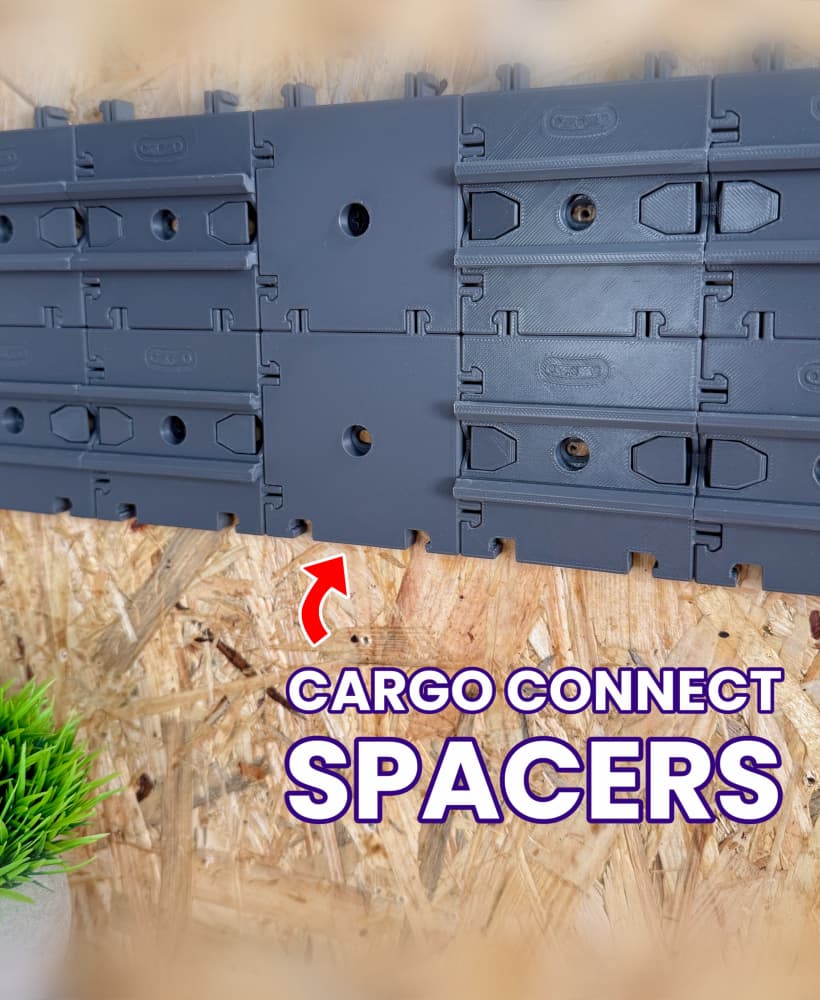
Spacer 1x1 - Cargo Connect
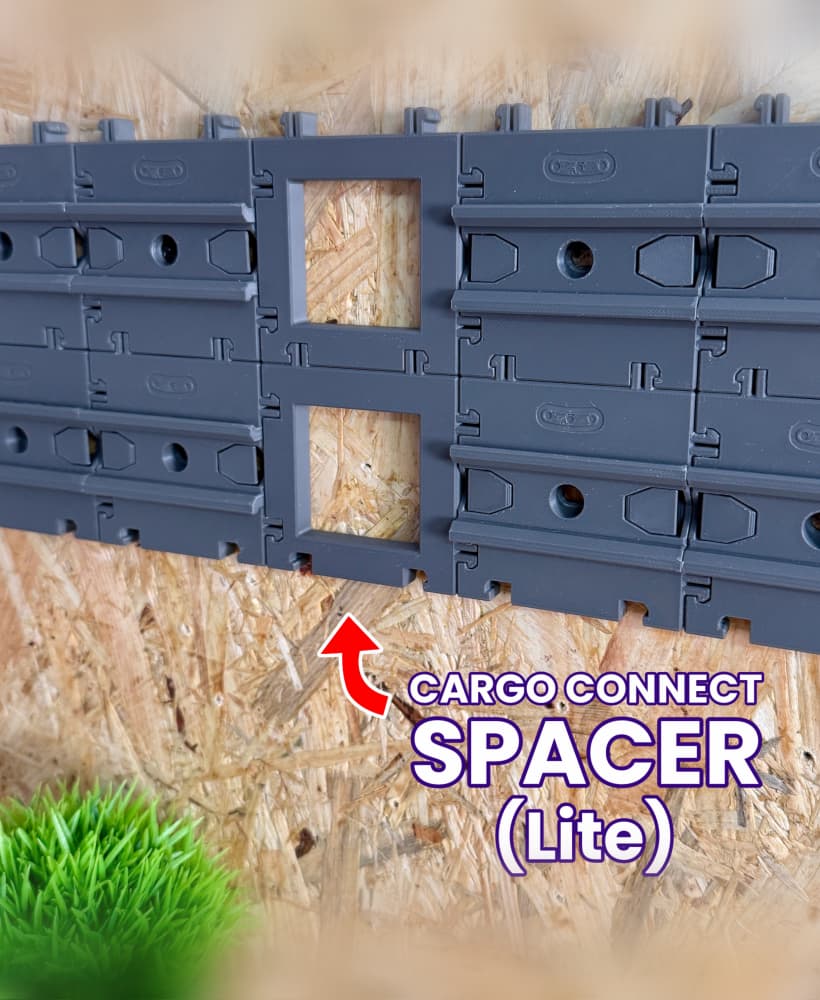
Spacer (Lite) - Cargo Connect

It would be soooo cool if there were a version with Ikea Skadis mount! :)
@Play Conveyor: Do you plan to release a version with a smaller tilting angle? After using the containers for a week now I have to admit that they are not usable for me like that.
Its actually quite an easy adjustment. I readjusted their design with a 30 degree tilt. Ive posted a photo in the thread.
That looks great! Thank you for taking time to look into this. But I do not really know who to approach this although I have a little experience with fusion. And actually I do not want to redesign every new version or size of this containers. So I guess it's just not a product for me.
how did yo adjust the tilt angle?
Hey, we recently released containers with a smaller tilting angle - they are now the default containers included with the downloadable files. The 'Cargo Containers - Design Updates' post on our Thangs homepage has all the info about this and the reinforced spring update.
(Containers with the original tilting angle are also still available in the 'Archive' so you have the choice of the two angles. We hope you enjoy the design!)
may i ask how you did the 30 degree adjustment?
Awesome! 👍
How do you get them to slide in pass each other. ? I don't see any possibilities to slide one into a row below, when the rails are used ?
When using the Rails you need to connect the boxes first then slide them onto the rails
How do you get them to slide in pass each other. ? I don't see any possibilities to slide one into a row below, when the rails are used ?
Hey, it seems like the most likely reason is the slicing settings - the walls for the middle spring section aren't being completely printed.
To solve it, try looking at these 2 settings:
Line Width: It might be thicker than the standard 0.42mm (if it's set to thicker than 0.42mm, it will mean any part of the model that's thinner will be ignored).
Wall Generator: It can either be 'Classic' or 'Arachne' - try setting it to Classic and re-printing
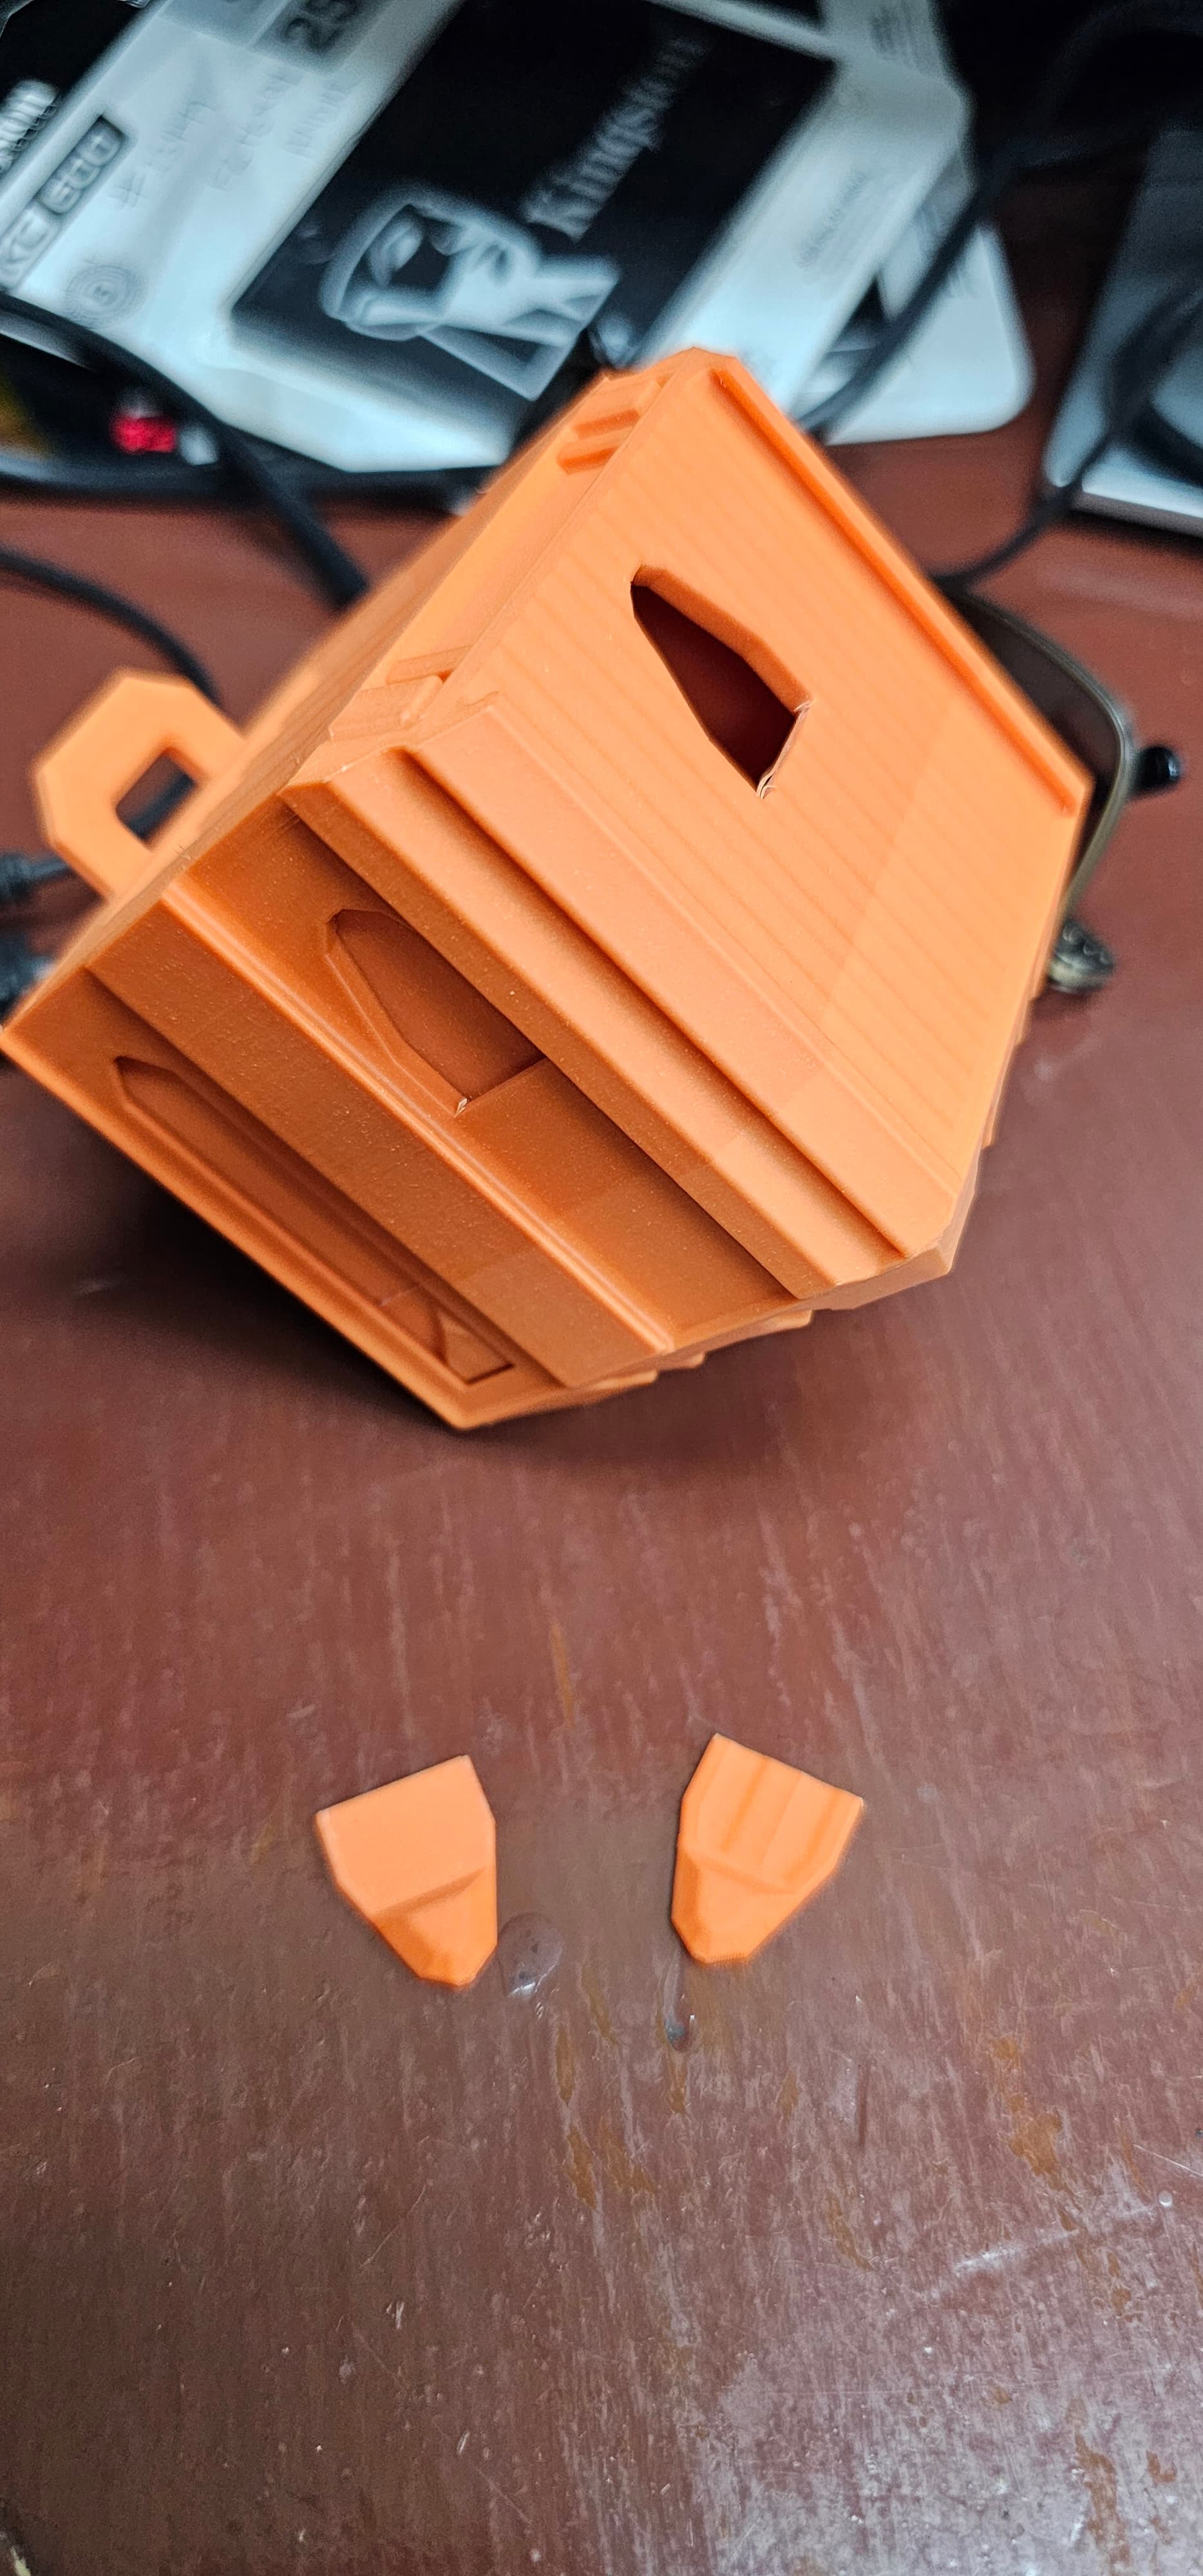
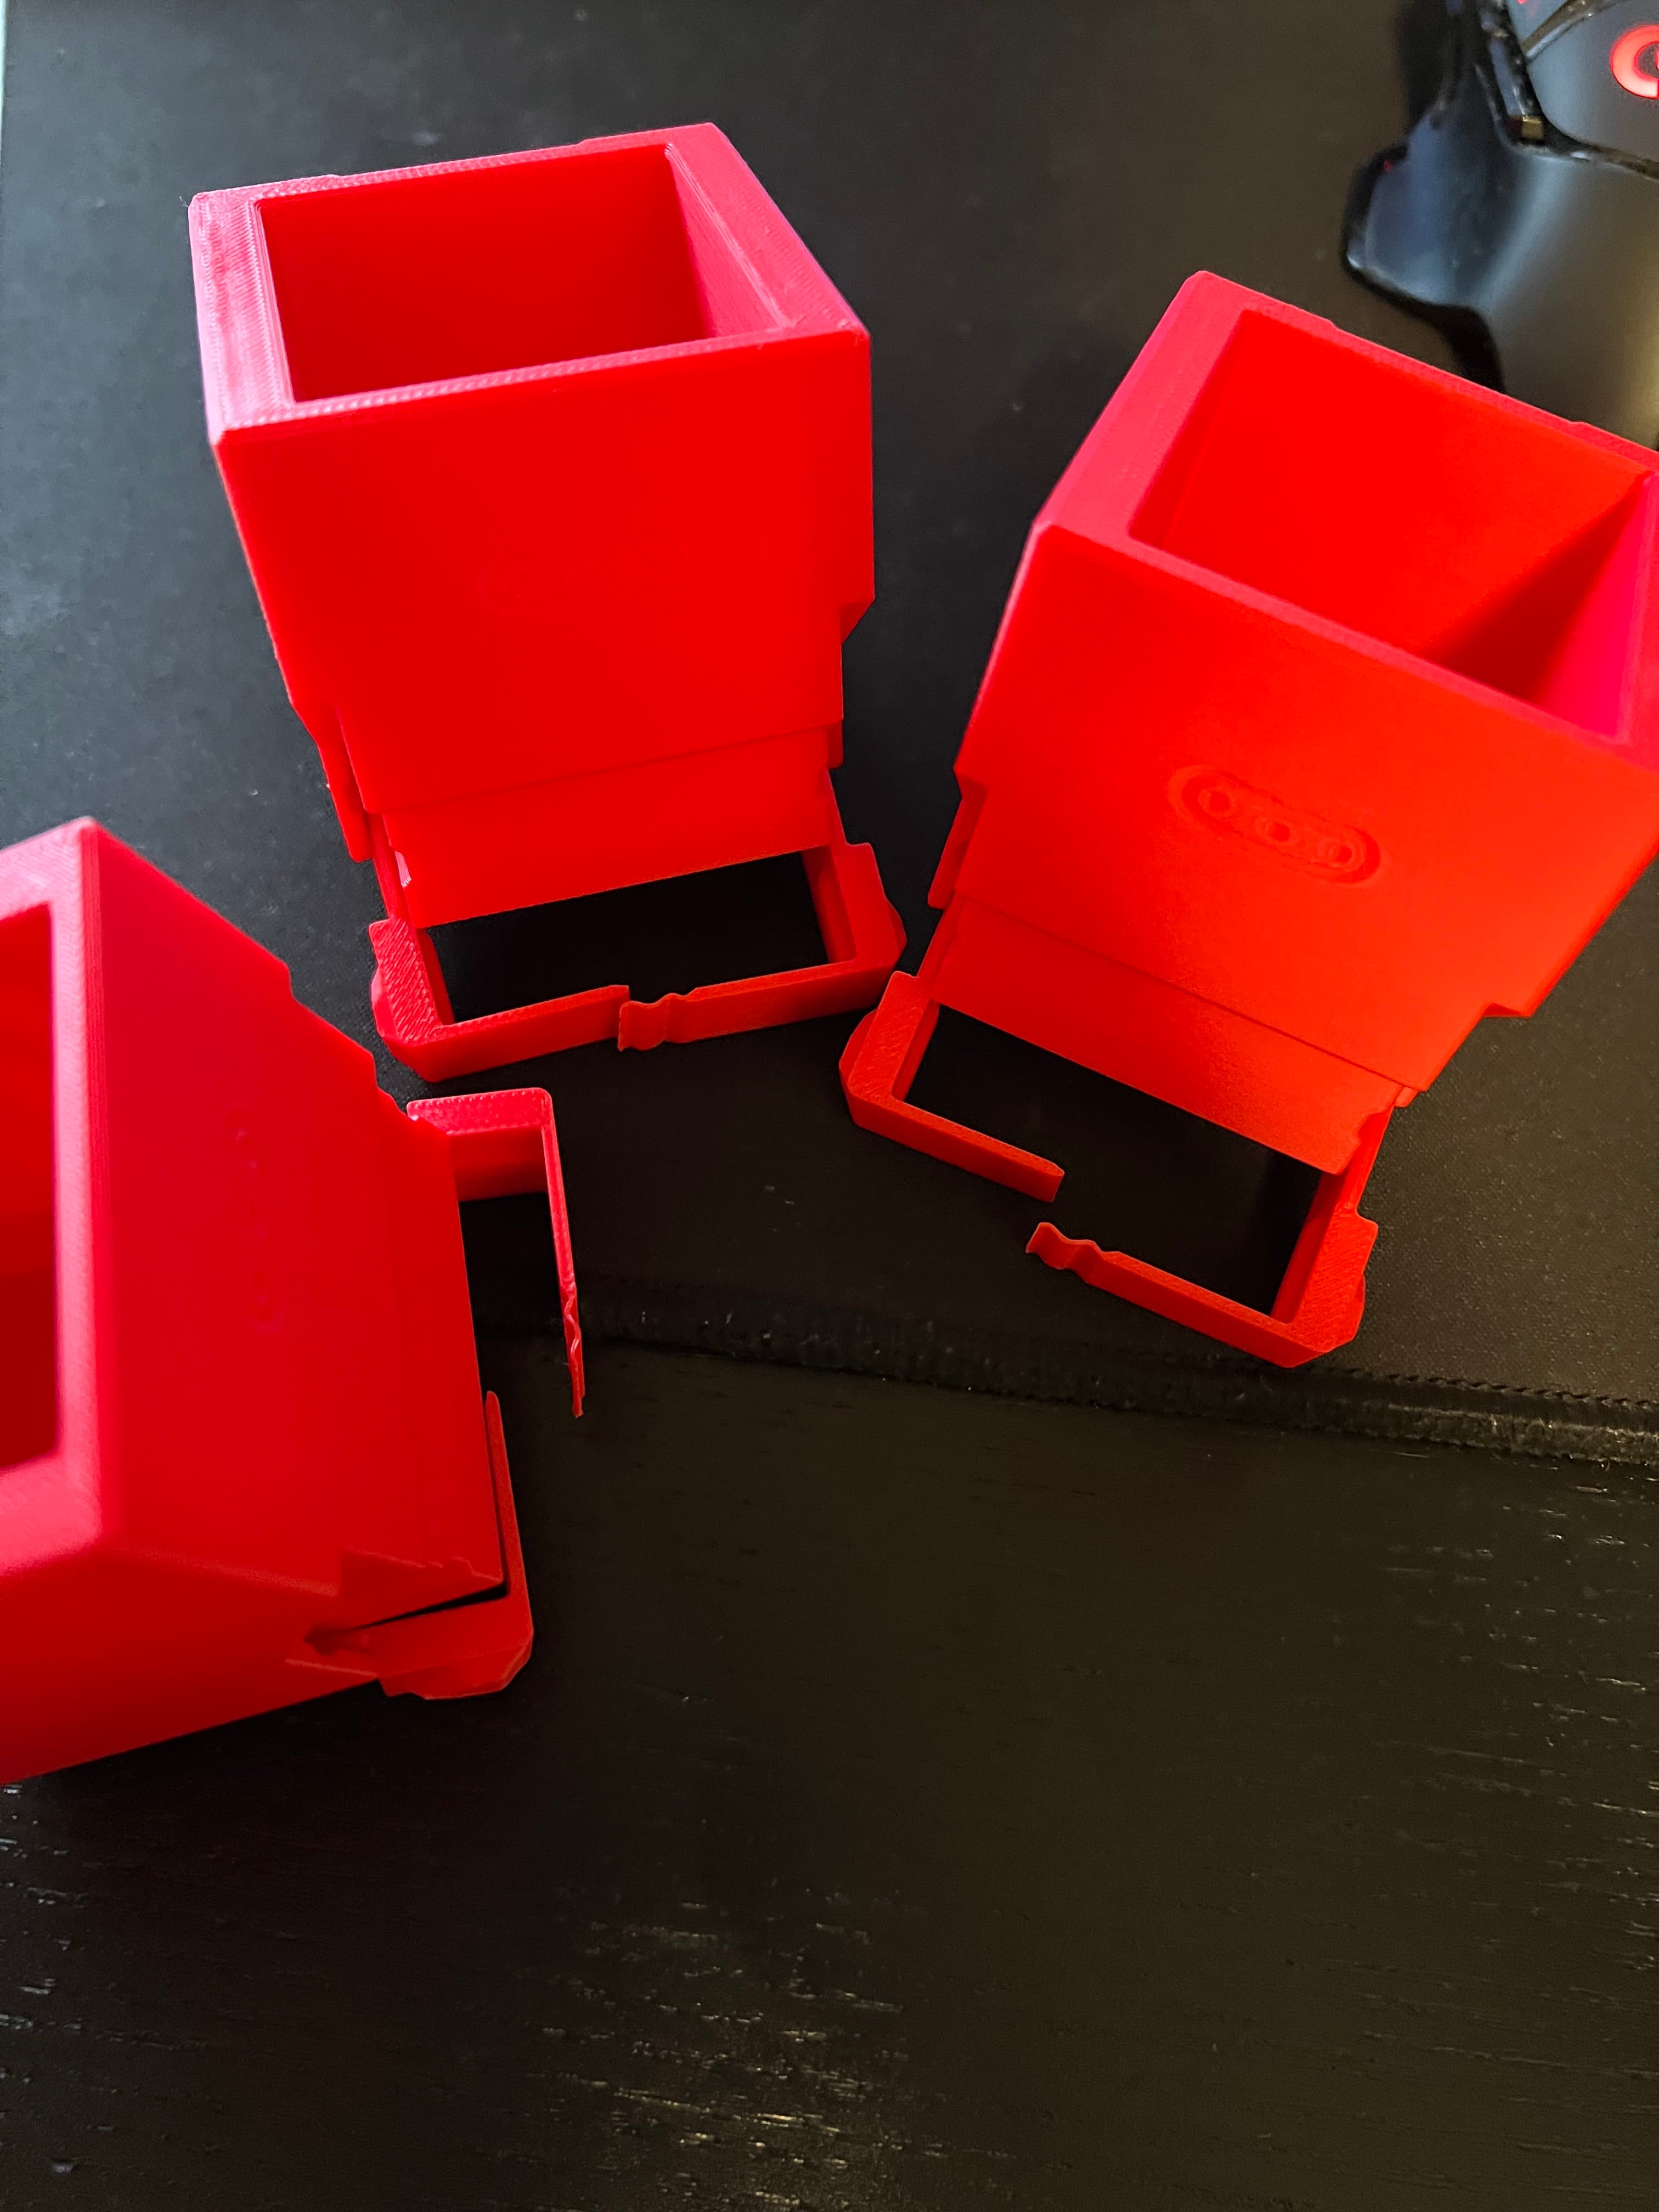
I've had the same issue. The overall print came out perfect for me except the "spring". Fundamentally I believe the design is flawed. I think the designer should revisit this. I'm disappointed that an almost perfect print would be rendered useless so easily.
Hey, we've now thickened up the back spring on the 1x1 Cargo Container model
I have this issue too. Flawless print, but the 'spring' snapped shortly after being inserted into the container. Honestly I wouldn't bother with the spring at all, altering the design to just be a flat bar. Most materials will have sufficient flex in them so it will still work.
Hey, we've now thickened up the back spring on the 1x1 Cargo Container model
If you are using Creality Print the default setting for Wall Generator is Arachne. Change it to Classic and the ‘spring’ will print perfectly.
I have forced 0.4 walls (For Voron printing),uses classic wall generator, have a very well tuned printer and I still have this issue on every box.
Hey, we've now thickened up the back spring on the 1x1 Cargo Container model
Is there any other settings that I need to look at beside this? I’ve been printing the case numerous times and just can’t seem to get the moving parts to work. It seems ile they are fused to the other parts. Using orca slicer
Hey, we've now thickened up the back spring on the 1x1 Cargo Container model
We have now updated the spring on the Mini 1x1 - it should help with non-Bambu/Prusa printers, hope it helps!
We still use 'Classic' wall generator because ittends to work better than 'Arachne', especially for the spring and other thinner areas.
Fully half the containers I print off of my P1S break in this fashion. Definite design flaw, IMO. It's too bad, the ones that have survived are awesome
Hey, we've now thickened up the back spring on the 1x1 Cargo Container model
Via creality print : Passez la "largeur de ligne" a 0.50 voir 0.52 au lieux de 0.42 Passez comme cité le "générateur de paroi " a classique au lieu de Arachné.
Same here, 100% failure rate of the spring part for me.
Hey, we've now thickened up the back spring on the 1x1 Cargo Container model
Yeah i had the same issue. I think improvements towards “Repairability” also in Terms of long Time use would be greatly appreciated and would Showcase the Viability of this long-term Project ?!
To Your Issue i fixed this by putting the broken Container inside the enclosure correctly oriented then gently pulling it out and Glueing the Spring back together. Wouldn’t wanna do that all the time but for the ones that break during “dial in” you might save a few Prints.
Hey, we've now thickened up the back spring on the 1x1 Cargo Container model
Yeah, samew thing here, every single box so far have broken at the back in the exact same way.
Hey, we've now thickened up the back spring on the 1x1 Cargo Container model
I think this system is clever, and I signed up just to play with it, but soon as I realized they don't have a setup like gridfinity where everything scales on a common foot print (or rail system) I found myself yearning for more. The fact the only way to get bigger boxes is to scale them, this leaves them incompatible with the rail system, unless you also scale the rail system. I would personally want to fill my back wall with rails and slide on various sized boxes with common denominator.
With there being no modifiable models included, which would be nice if they were parametric design with a math template that allows you to change a variable and generate multiple sizes with a common rail framework.
How can I do this angle change?
We've now updated the angle so that the boxes don't tilt forwards as far
Great Job ! Angle looks much better 👍
Wish we could get different options or just those two would be great.
We've now updated the angle so that the boxes don't tilt forwards as far
Hey, we've now updated the angle so that the boxes don't tilt forwards as far
oo I'd love this adjustment too. Any pointers?
We've now updated the angle so that the boxes don't tilt forwards as far
Do you mind sharing that separator model? This seems super useful! I also would like to split the 1x1 containers like this
Hey, we've tested the print orientation in various ways and in terms of sliding and clicking, the current print direction is what works best for us so far.
The snapping of the tabs could be influenced by 3 things:
Try adjusting those factors and hopefully they'll be less prone to snapping for you.
Same problem after 0.1 seconds after I printed mine. The model should probably be rotated and printed on the edge to support the clip better. Probably would try it soon
Hey, the snapping of the tabs could be influenced by 3 things:
Filament type Filament quality - brand, age of the filament and whether it has been exposed to temperature variations or not Layer height and print temperature
Try adjusting these and hopefully you'll see an improvement.
I have the same problem. No solution?
Hey, the snapping of the tabs could be influenced by 3 things:
Filament type Filament quality - brand, age of the filament and whether it has been exposed to temperature variations or not Layer height and print temperature
Try adjusting these and hopefully you'll see an improvement.
Are there any 2x2, 2x3, 4x2, 4x3, or 4x4? I really like the design but most things I want to store are larger than the single cell boxes here
I also want bigger size, 1x2, 1x3 scale i dont want to use
agree a 2 and a 3 wide would be awesome